Time Series Data Append (Using Table Designer)
The platform allows structured time-series data management using the Table Designer interface. This feature enables users to append new rows, edit existing records, and manage tabular data safely without breaking the dataset structure.
With uploaded and linked resources the DataStore may contain a copy of the original file data. This copy is deleted and re-loaded when the original file changes. Often there is no data schema other than field types that are detected or overridden by the user. If the original data contains an incompatible type or the type is detected incorrectly the data loading process will fail leaving the DataStore empty.
Table Designer instead uses the CKAN DataStore as the primary source of data.
Rows can be individually created, updated and removed. Type validation and constraints are enforced so bad data can’t be mixed with good data. Primary keys are guaranteed to be unique enabling links between resources.
This makes Table Designer resources well suited for data that is incrementally updated such as reference data, vocabularies and time series data.
Step 1: Creating a Table Designer resource
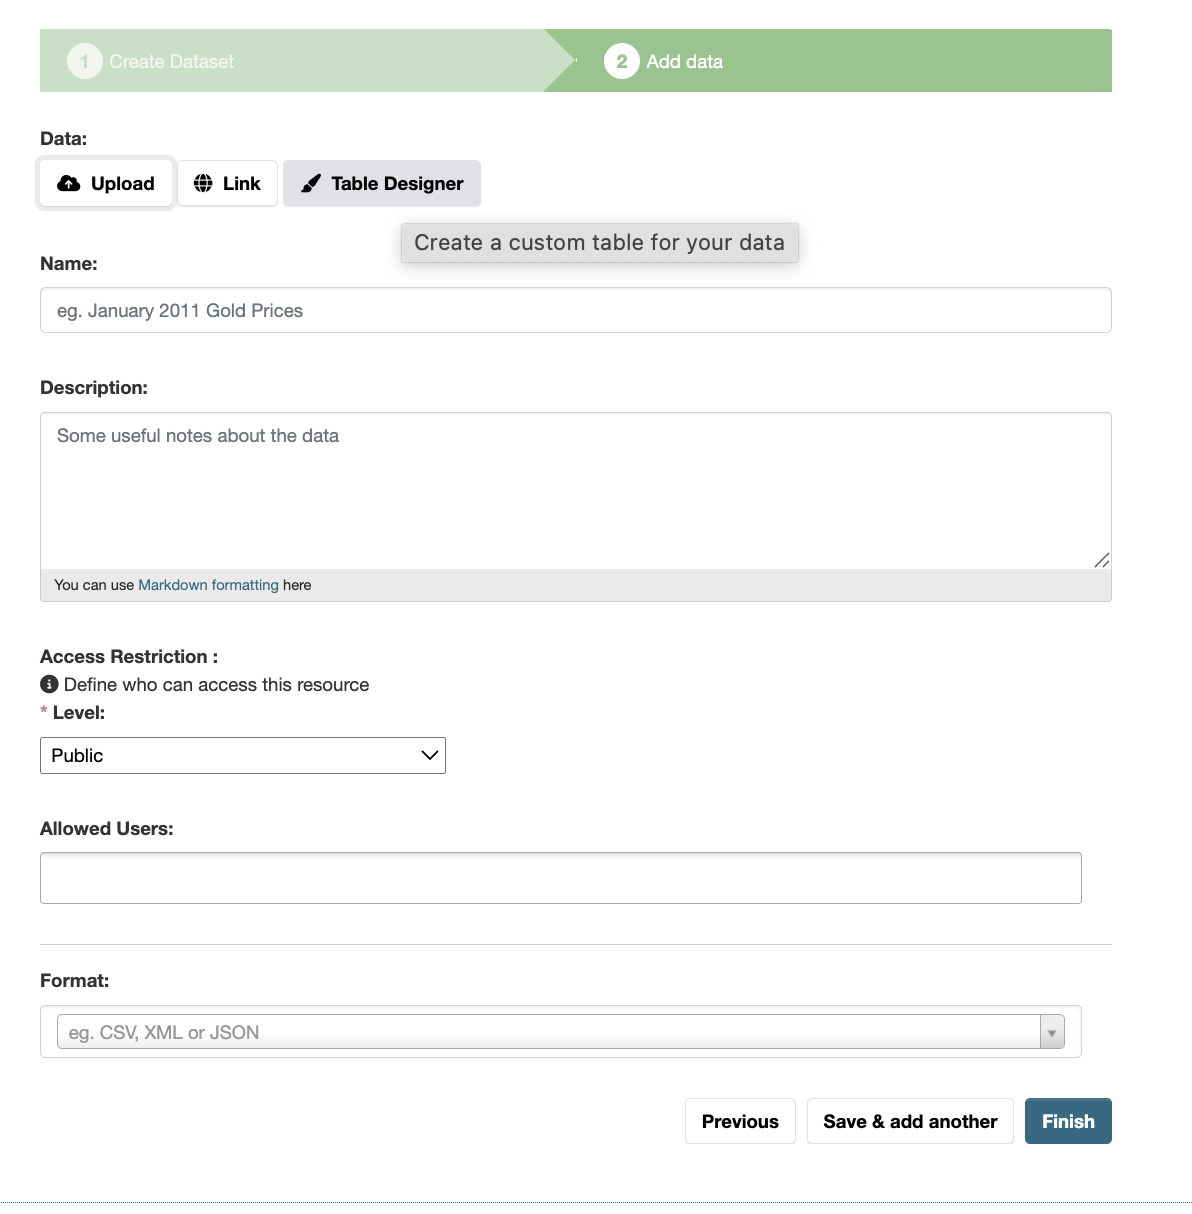
When creating a resource select “Data: Table Designer”. This will automatically create an empty DataStore table and a DataTables view.- Click Add Dataset
- Fill dataset details
- Go to Add Resource
- Select Data: Table Designer as resource type
- Click Finish
Screenshot: Table Designer Page
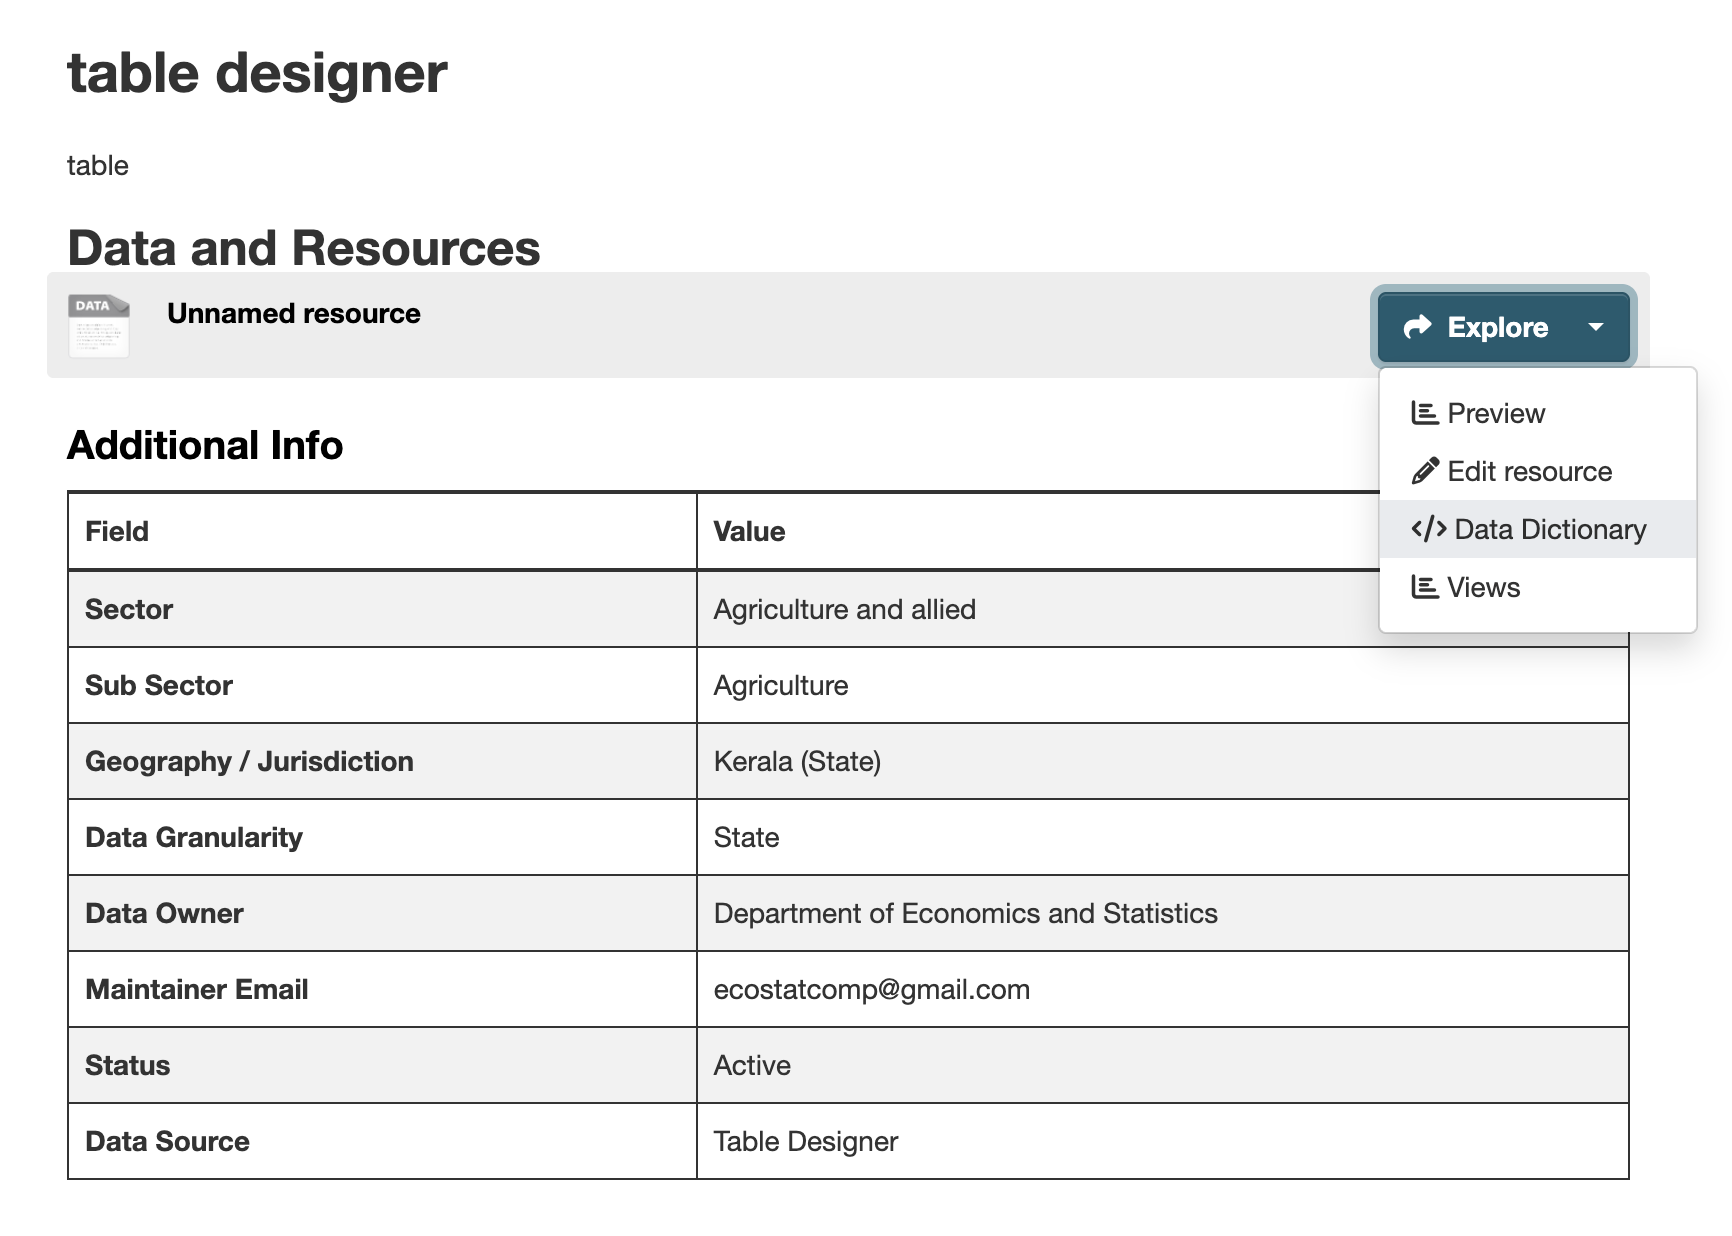
After saving your resource navigate to the Data Dictionary form to start creating fields.
- Open the dataset
- Click the resource
- Go to Data Dictionary
Screenshot: Data Dictionary Page
Step 2: Creating fields with the Data Dictionary
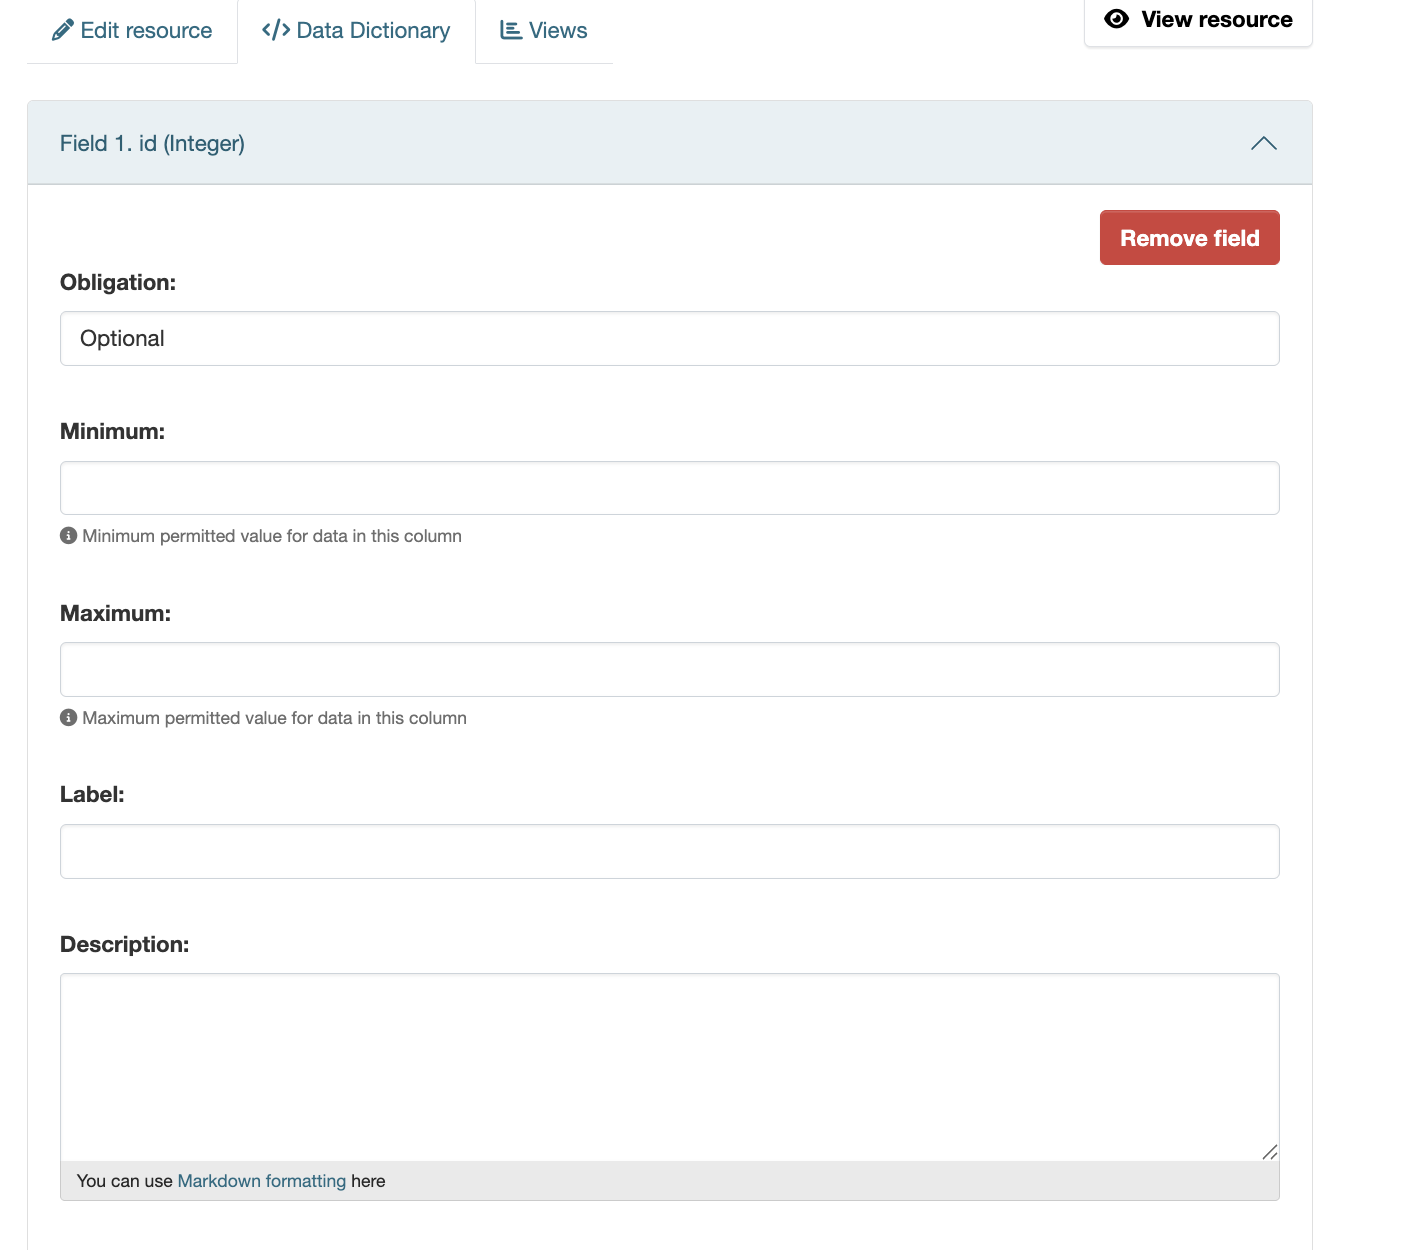
A newly created resource will have no fields defined. Use the “Add Field” button in the Data Dictionary form to add fields for your data. Customize each field with an ID, an obligation, a label and description.- Click Add Field
- Enter Field details
Screenshot: Field Details
-
ID – All fields must have an ID. The ID is used as the column name in the DataStore database.
PostgreSQL requires that column names start with a letter and be no longer than 31 characters.
The field ID is used to identify fields in APIs and when exporting data (CSV, Excel, etc.).
Recommendation: Use a consistent format such aslowercase_with_underscores. - Label – A user-friendly name of the field. It is displayed in tables, forms, and Excel templates.
- Description – Additional information about the field. Supports markdown and is shown as help text.
-
Obligation – Defines whether the field is mandatory:
- Optional – No restriction
- Required – Cannot be empty
- Primary Key – Must be unique and cannot be empty
If multiple fields are marked as Primary Key, their combination ensures uniqueness.
- Type – Select the appropriate field type based on your data.
Field Types
Table Designer offers some common fields types by default.Screenshot: Field Types
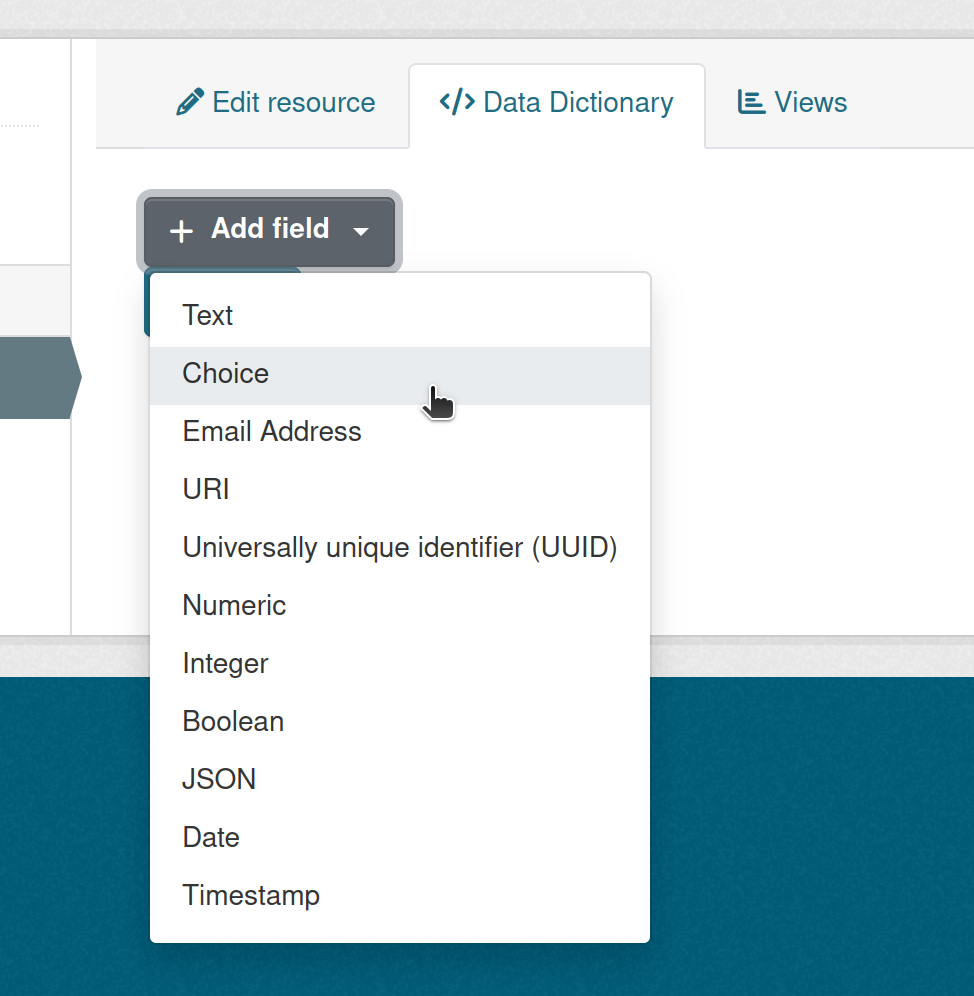
Text
Text fields contain a string of any length.
A pattern constraint is available to restrict text field using a regular expression. When a pattern is changed the new pattern applies to all new rows and rows being updated, not existing rows.
When used as part of a primary key, text values will have surrounding whitespace removed automatically.
Choice
Choice fields are text fields that limit the user to selecting one of a set of options defined.
Enter the options into the Choices box, one option per line.
If an option is removed from the Choices box that exists in the data, the next time that row is updated it will need to be changed to one of the current options for the change to be accepted.
Email Address
Email address fields are text fields that accept a single valid email address as defined by the HTML standard.
URI
URI is a text field used for links (URLs) or other Uniform Resource Identifier values
Universally unique identifier
A UUID field is a 128-bit value written as a sequence of 32 hexadecimal digits in groups separated by hyphens.
Values are always returned in standard form, e.g.: a0eebc99-9c0b-4ef8-bb6d-6bb9bd380a11
Numeric
Numeric fields are exact decimal values with up to 131072 digits before the decimal point and 16383 digits after the decimal point.
Minimum and maximum constraints may be set to limit the range of values accepted, e.g. setting the minimum to 0 would prevent negative numbers from being entered.
Integer
Integer fields are 64-bit integer values with a range of -9223372036854775808 to +9223372036854775807
Minimum and maximum constraints may be set to limit the range of values accepted, e.g. setting the minimum to 0 would prevent negative numbers from being entered.
Boolean
Accepts only TRUE or FALSE values.
JSON
JSON fields may contain any valid JSON and will retain the whitespace and order of keys passed.
Date
Date fields accept any YYYY-MM-DD value from 4713 BCE to 5874897 CE.
Minimum and maximum constraints may be set to limit the range of values accepted.
Timestamp
Accepts date and time in YYYY-MM-DD HH:MM:SS format.
After adding all fields, save the Data Dictionary.
Step 3: Creating and Updating Rows Using Web Form
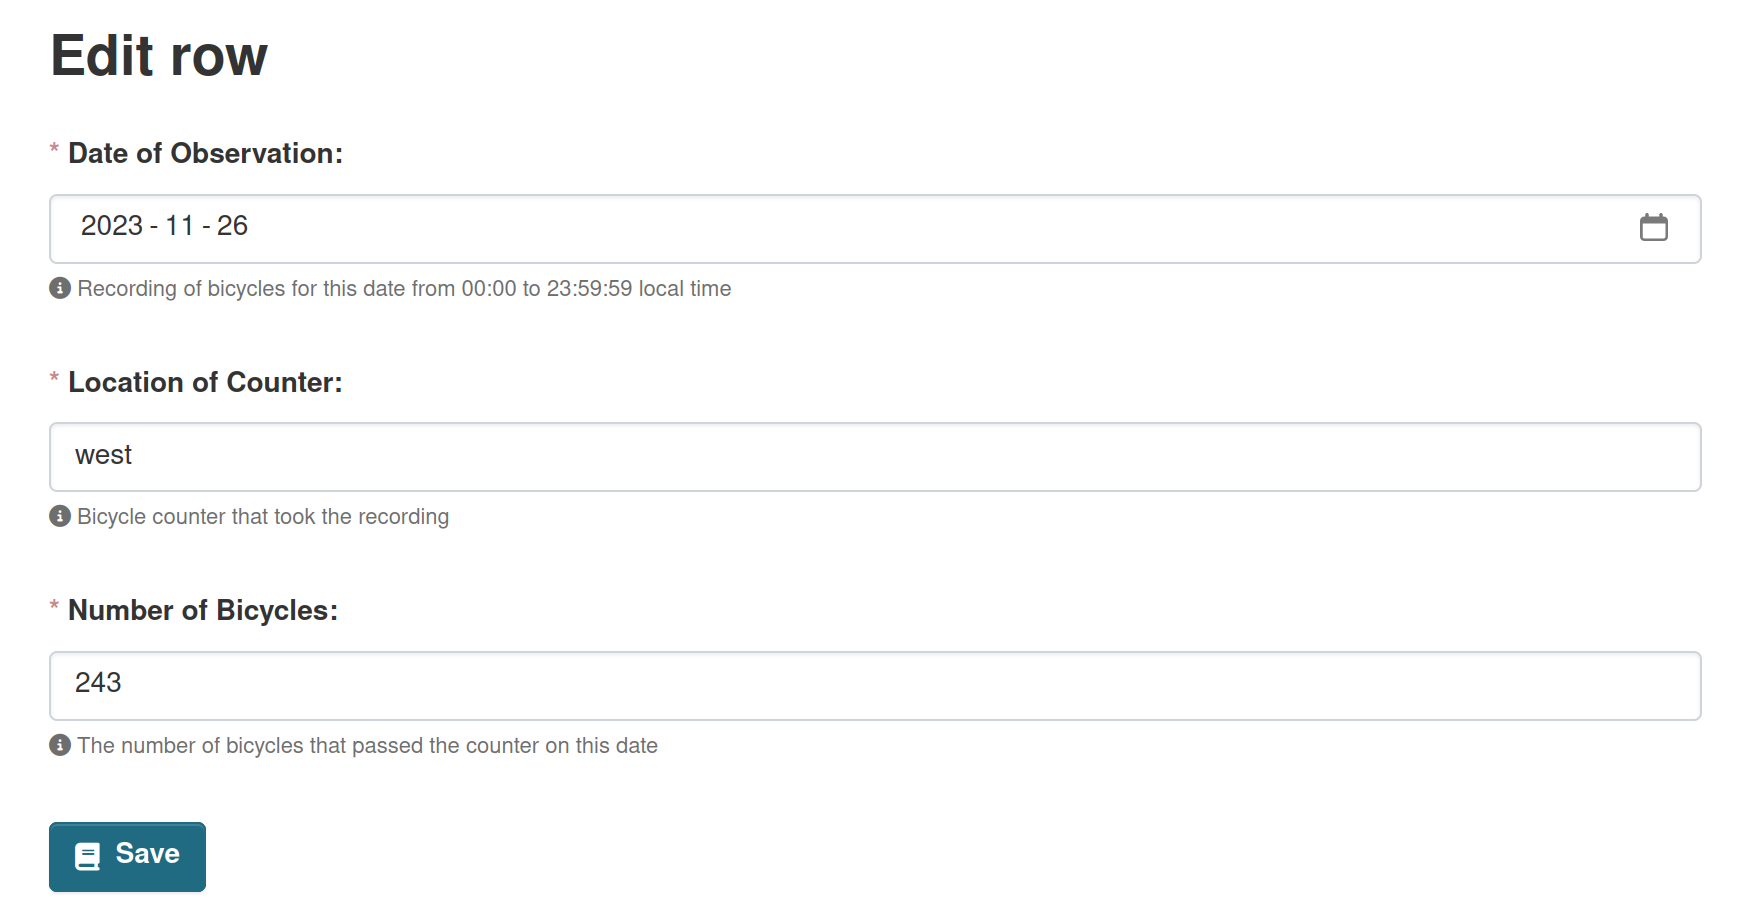
Table Designer provides an interactive web form for adding and updating rows.
The fields you define generate the web forms. Labels for fields are shown instead of ids when given, and field descriptions are displayed as help text and may include markdown with links, tables or other information.
Screenshot: Data Entry Form
Creating Rows
- Click Add Row above the table preview
- Fill in the form fields
- Click Save
Updating Rows
- Select a row from the table
- Click Edit Row
- Update required values
- Click Save
Validation Errors
If any data entered does not meet validation rules (such as required fields, incorrect formats, or duplicate primary keys), errors will be displayed after clicking Save.
Screenshot: Validation Errors
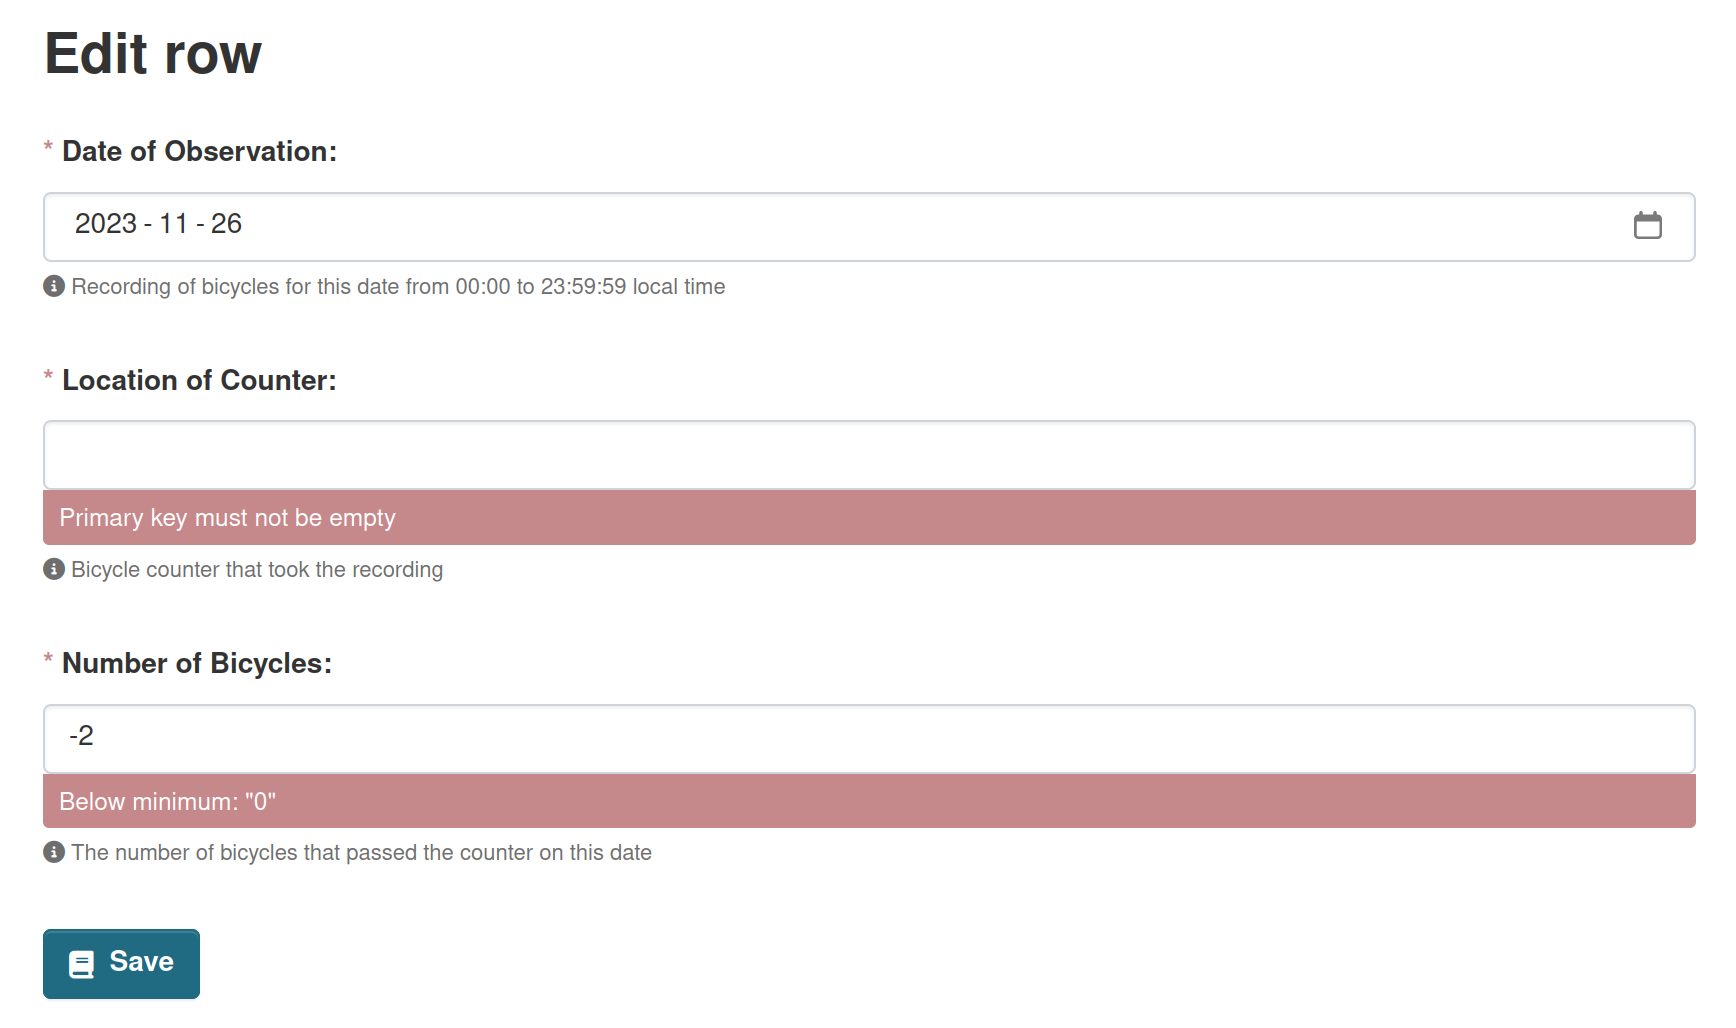
- Incorrect fields will be highlighted
- Error messages will guide the correction
- Fix the issues and click Save again
Step 4: Creating and updating rows with excelforms
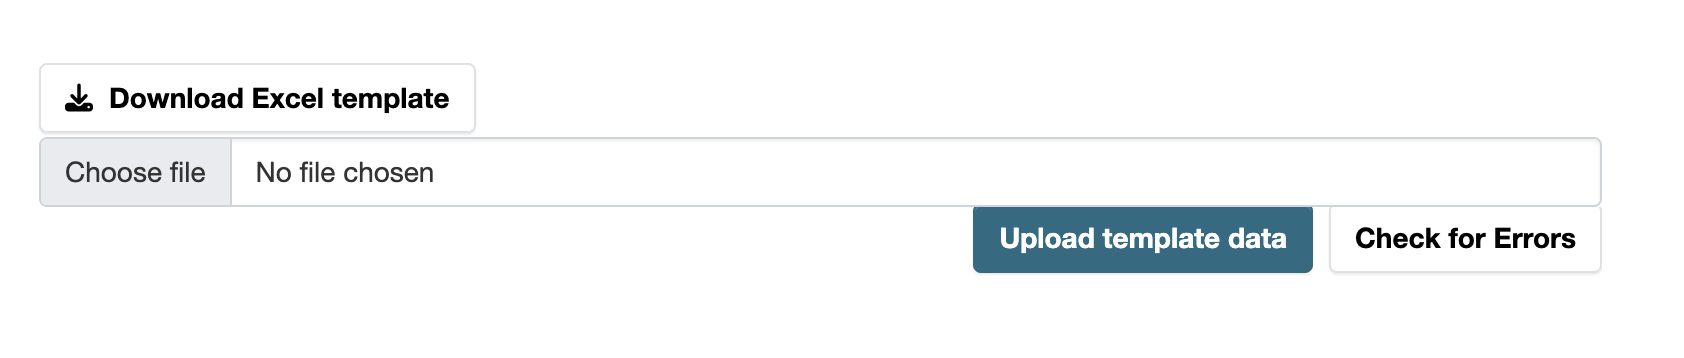
- Below the data preview under “Table Designer” click the “Download Excel template” button to download a clean template xlsx file.
- Open the template in Excel, LibreOffice, Google Docs or other Excel-compatible spreadsheet application.
Screenshot: Download Template
Screenshot: Excel Template
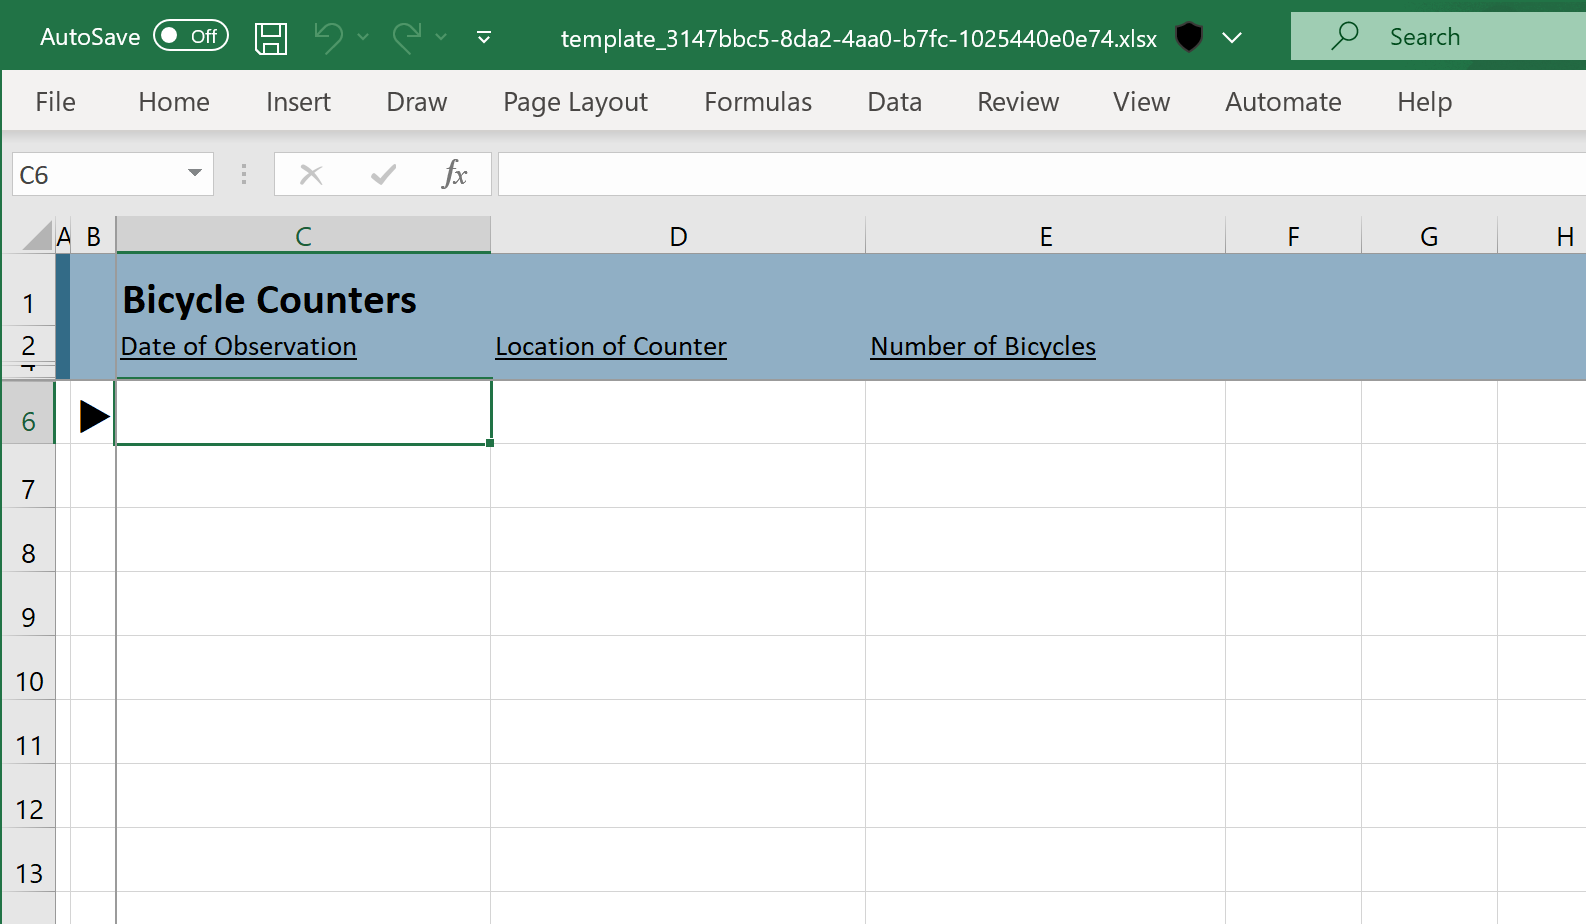
Note: Use “Paste Special: Values Only” when pasting data into the template, otherwise the error highlighting and column formatting will be removed.
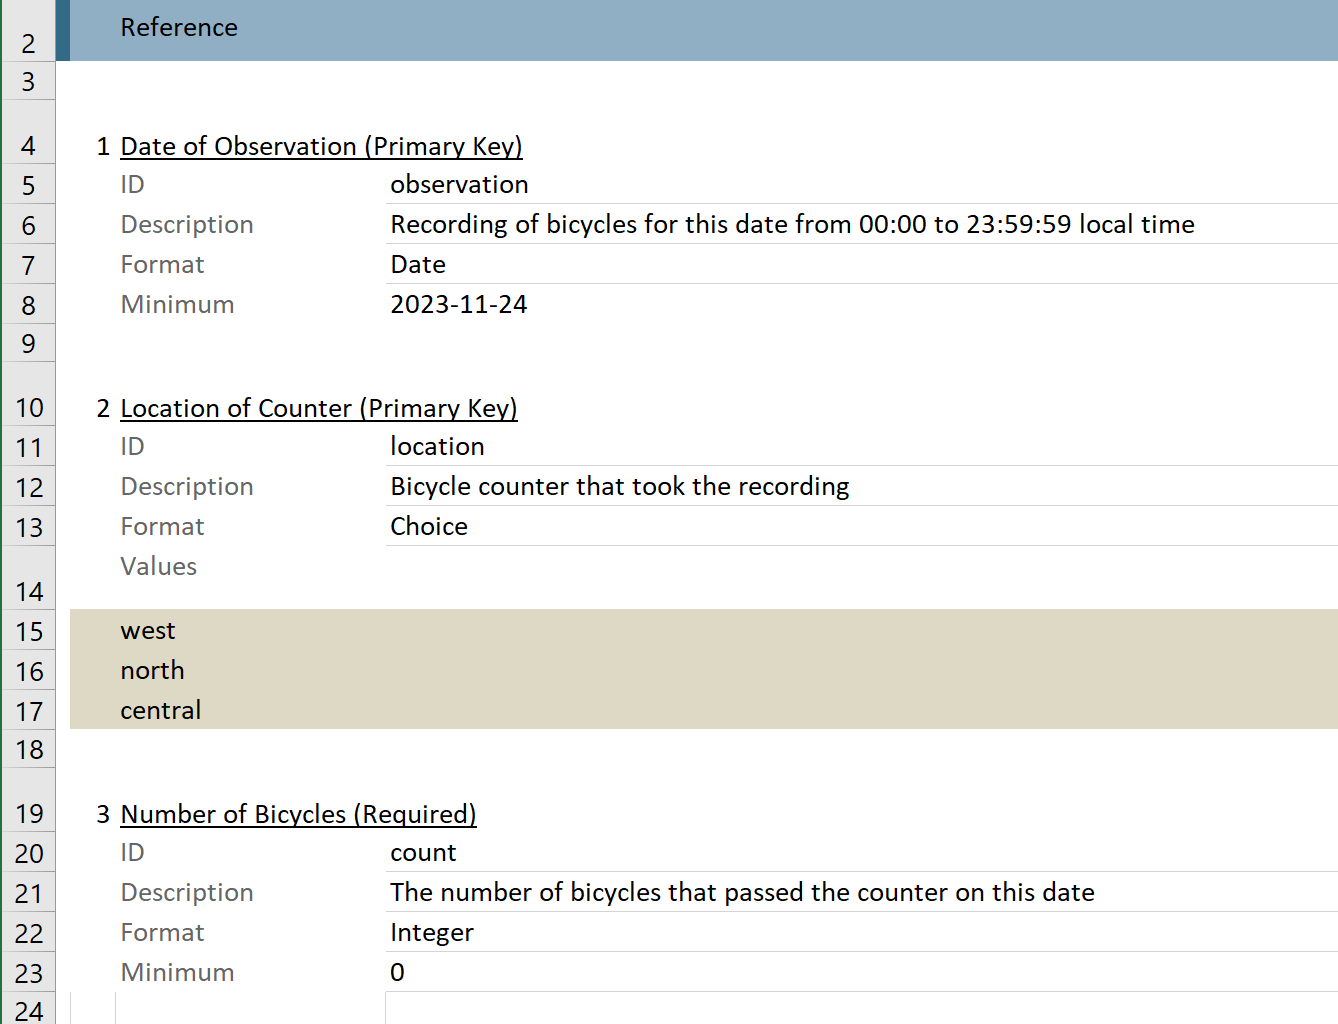
Click one of the column titles or the “reference” sheet to jump to a reference tab with information about the field including descriptions and constraints. Click on the field name in the reference to jump back to the data.Screenshot: Excel Reference Template
Screenshot: Excel Forms Errors
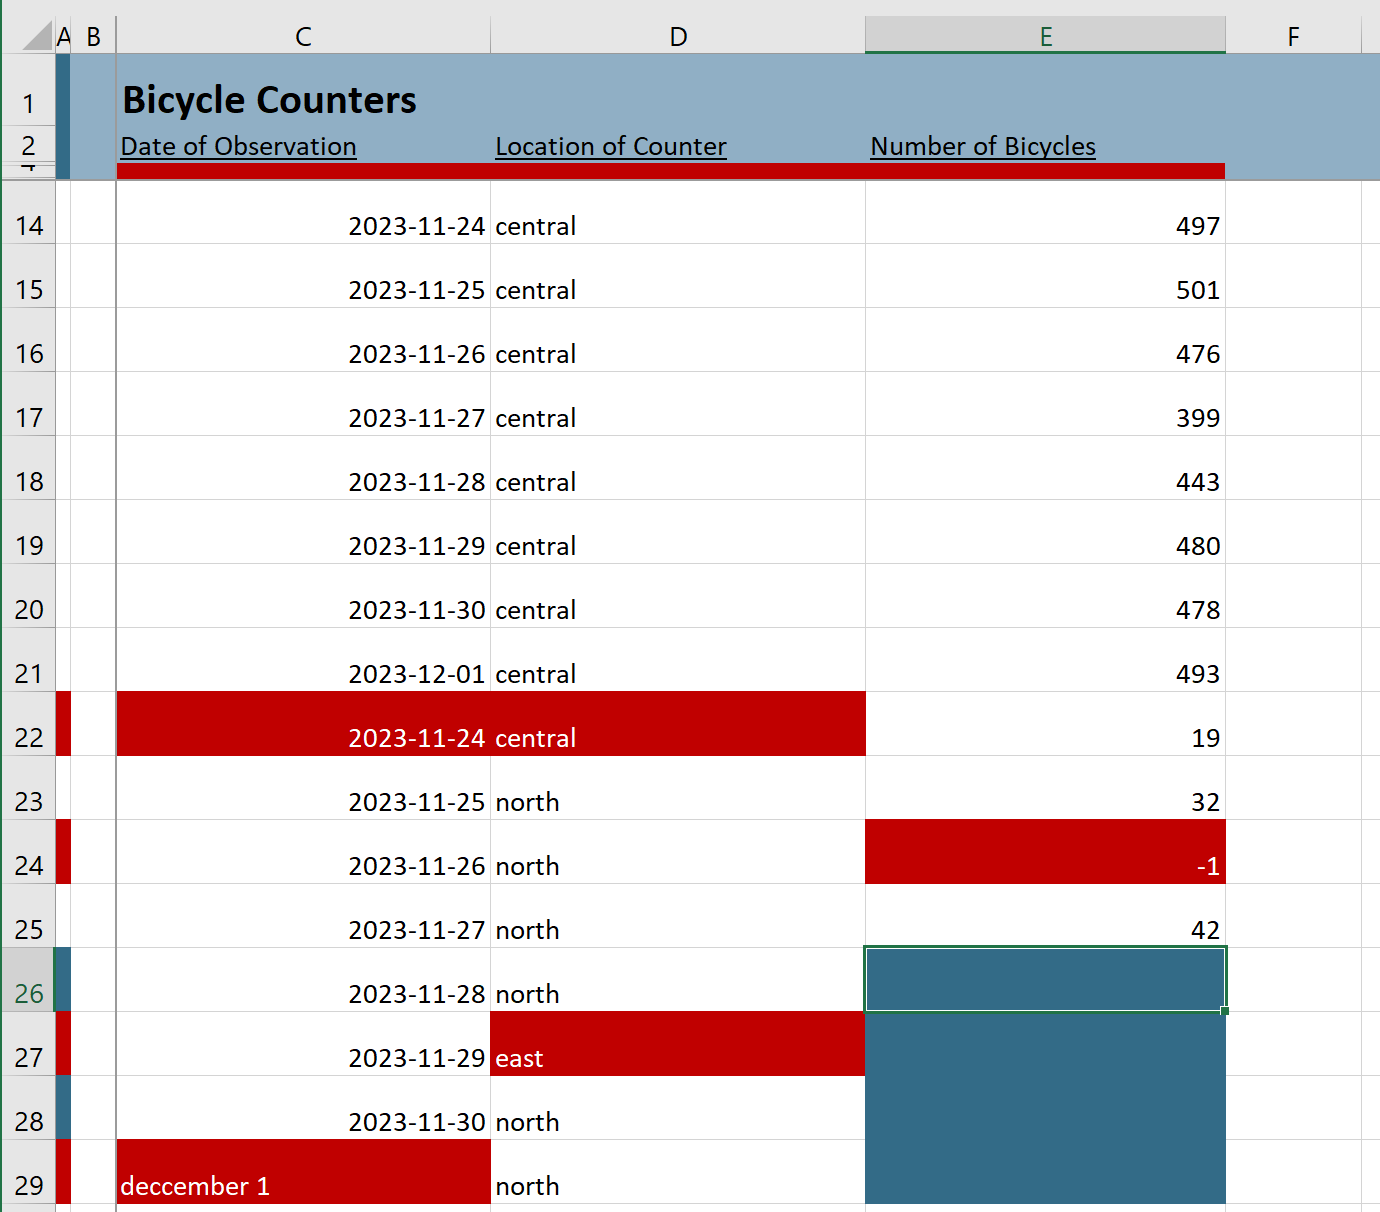
Duplicate primary keys (row 22), values outside the range constraints (row 24), values not present in choices (row 27) and values in an invalid format (row 29) are highlighted as errors.
Click the thin border cells along the left (column A) or along the top under the field names (row 3) to jump directly to the next error or missing value in that row/column. This is useful when navigating a large template to quickly find errors or missing values.
Once errors are corrected, save the template and upload it with the file selection input next to the “Excel template” button below the preview.
Click “Submit” to upload the data or “Check for Errors” to validate the data server-side without creating or updating rows.
Editing Existing Rows
-
Select the rows to edit in the data table preview, then click “Edit in Excel” above the table to download an Excel template populated with data.
Screenshot: Edit Data
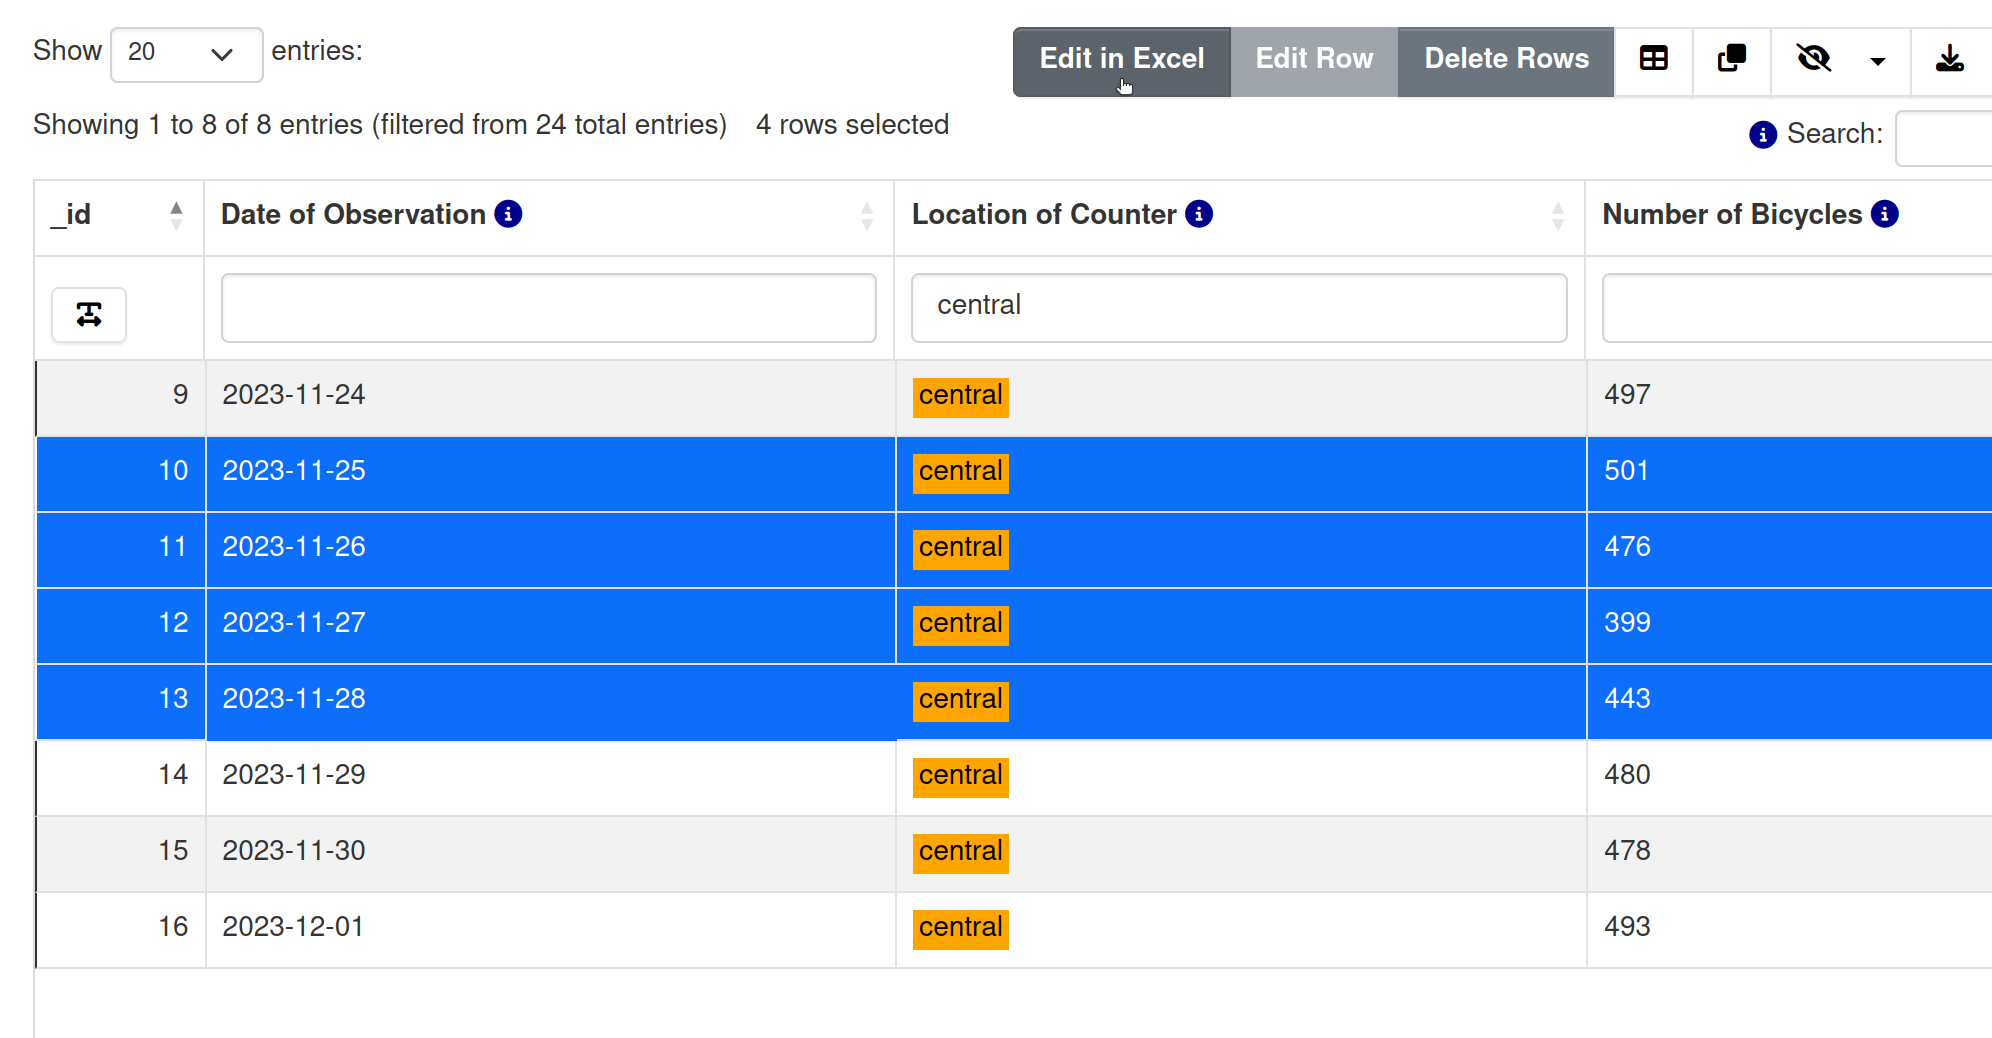
This template is just like the clean one above except:
- It includes a read-only
_idcolumn on the left - It does not include additional rows for adding new data
- Only the selected rows can be edited
- It includes a read-only
Deleting rows
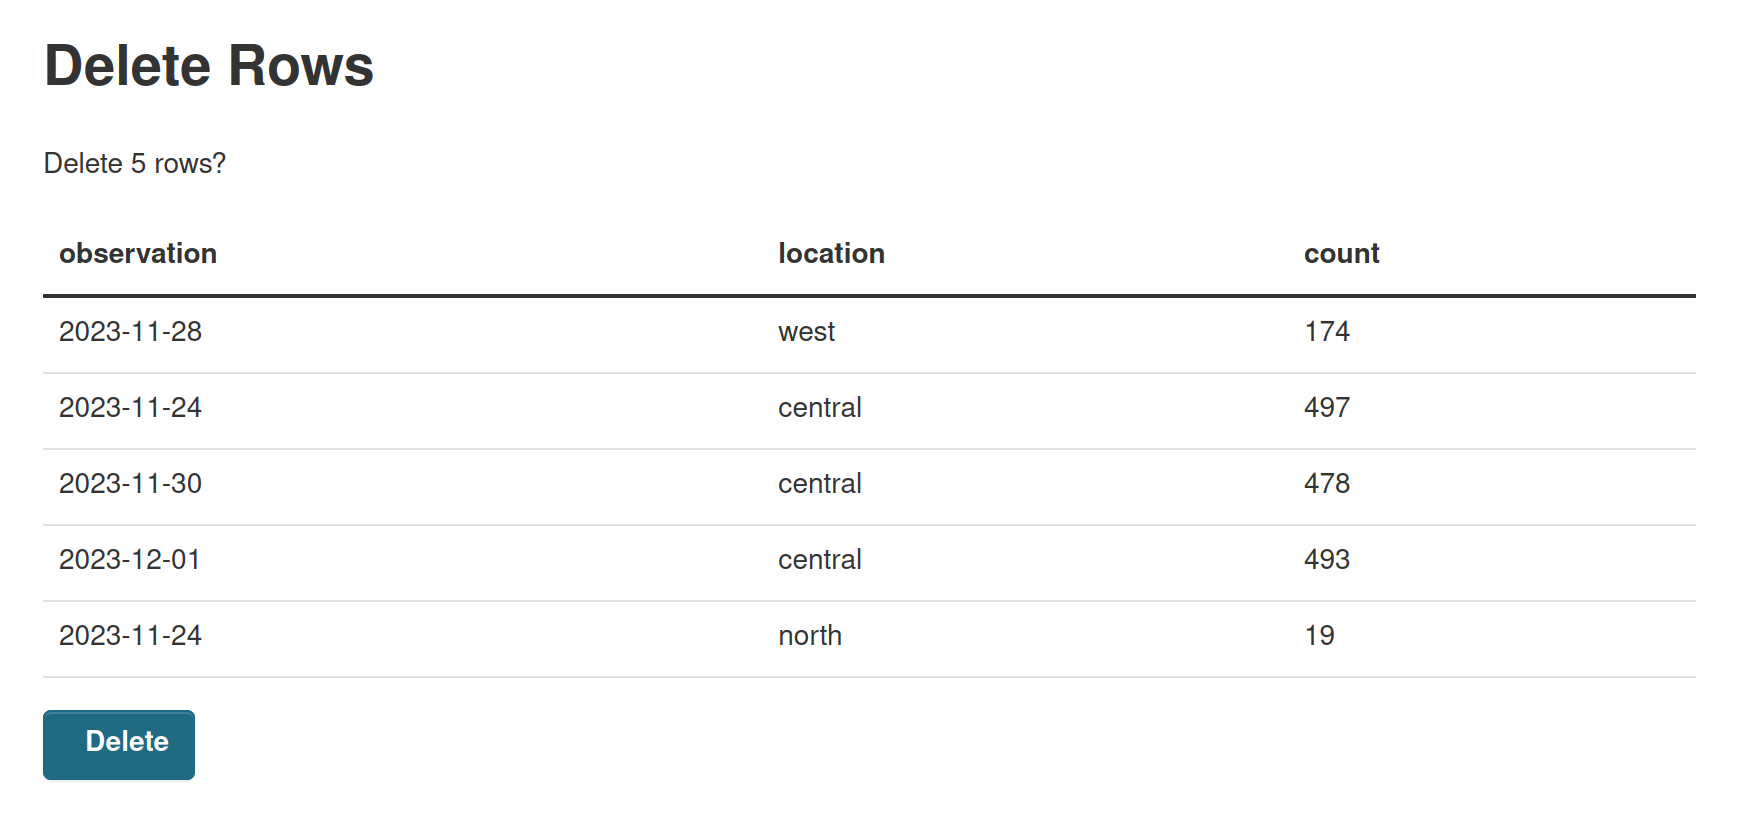
Select one or more rows in the data table preview then click “Delete rows” above the table.Screenshot: Delete Row